Architectural Modeling
Background
I participated in an architecture wintersession with the Harvard Graduate School of Design. The session focused on iterating a single design in various 3D reconceptualizations.
Update: I revisited this project during the first year of my product design master’s program at Stanford.
Process
The session began with a divergence exercise. Within a time limit, I generated as many different designs as I could come up with using printer paper. At the end of this time, I selected one of these designs to be the prototype off of which I would base my reconceptualizations.
The first project formalized the prototype into a cardstock replica. Use of a cutting mat, metal ruler, and precision knife enabled the replica to have more precise angles and even spacing.

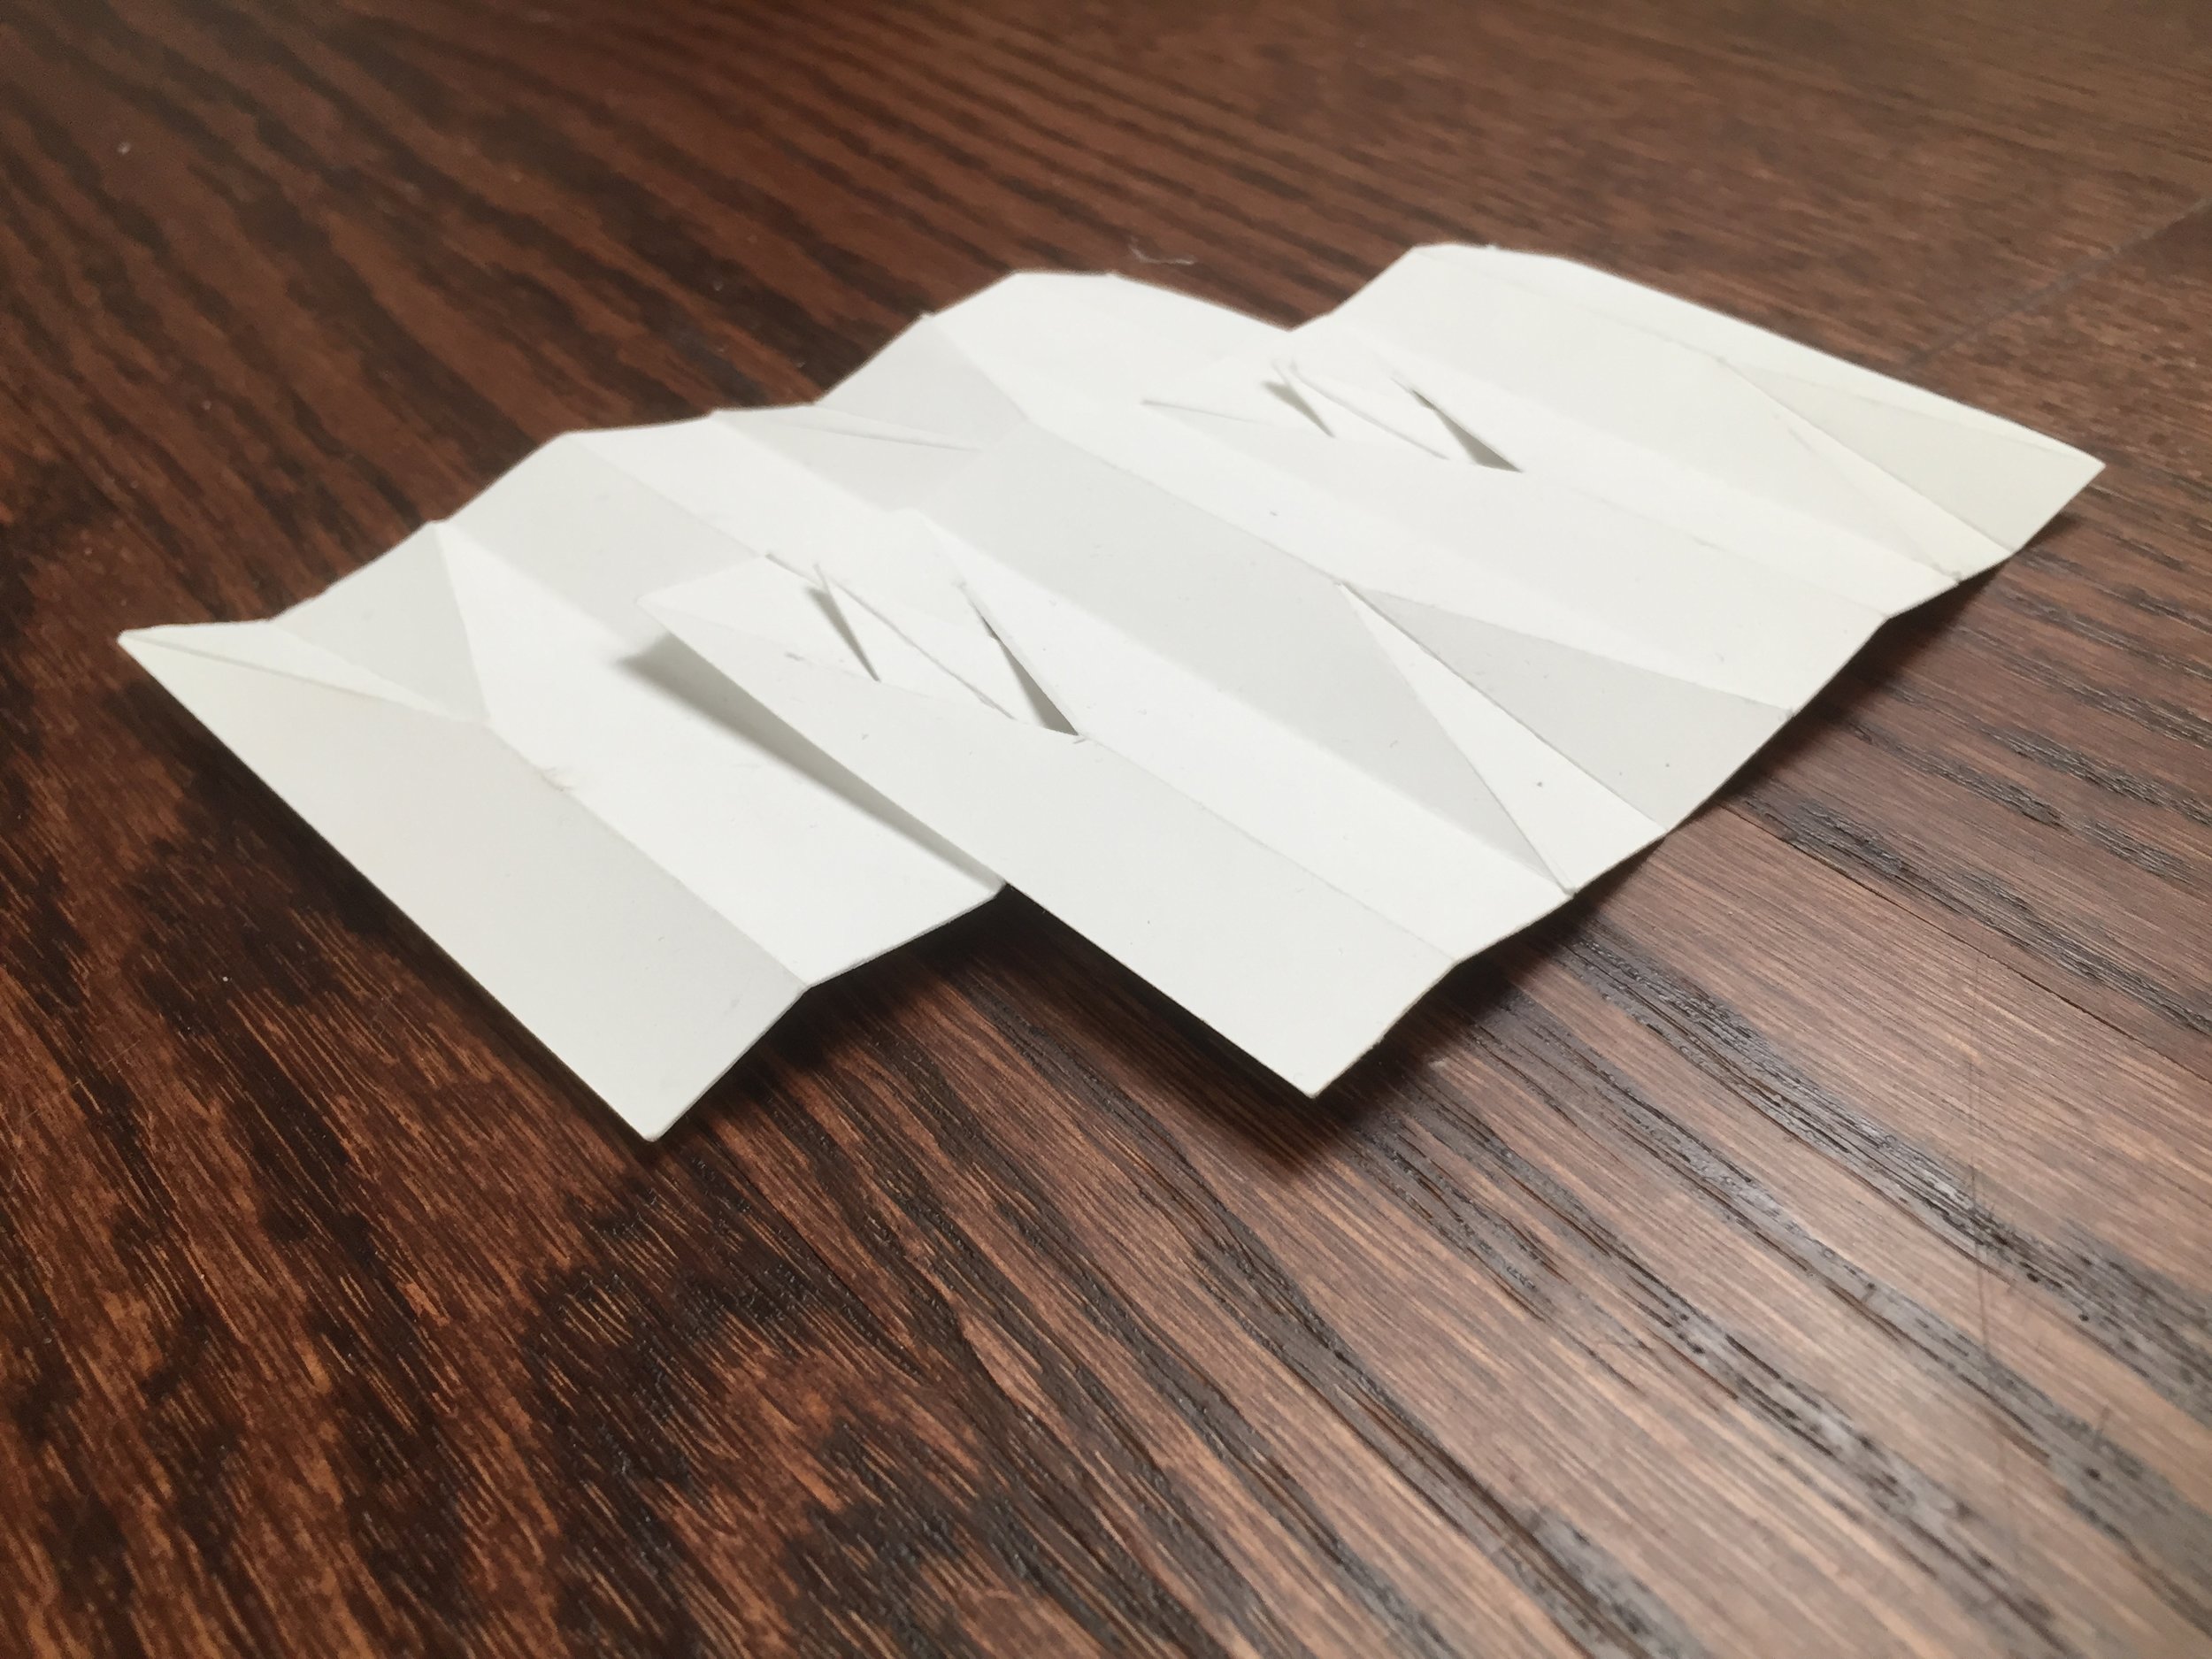
The second project prompted me to reimagine the prototype in the same cardstock medium. Using the same size cardstock as in the first project, I split the cardstock in half and created a replica of the prototype design with each half. Additionally, I made incisions in each half such that they would interlock with each other. The resulting effect was an accentuation of the triangular pattern of the original prototype.
The third project introduced me to 3D modeling. This challenged me to think about the prototype not in terms of the flat surfaces that were evident to the eye, but according to the repetitive pattern of its edges. By creating vertical slices of plexiglass, each with varying heights that reflected this pattern, I was able to create a plexiglass design that mimicked the surface folds of the prototype. (Note: During the exhibit, a section fell off and was reattached incorrectly.)

This worked so well that in the fourth project, I attempted to reconceptualize the design in museum board by carrying forward the repetitive pattern of the prototype’s edges. I created duplicate slices of cardboard, again following this pattern, such that they would serve as both the vertical and horizontal axes of the model. This gave rise to an entirely different design, but ended up being less successful due to the difficulty of distinguishing the pieces from each other and thus piecing the design together.

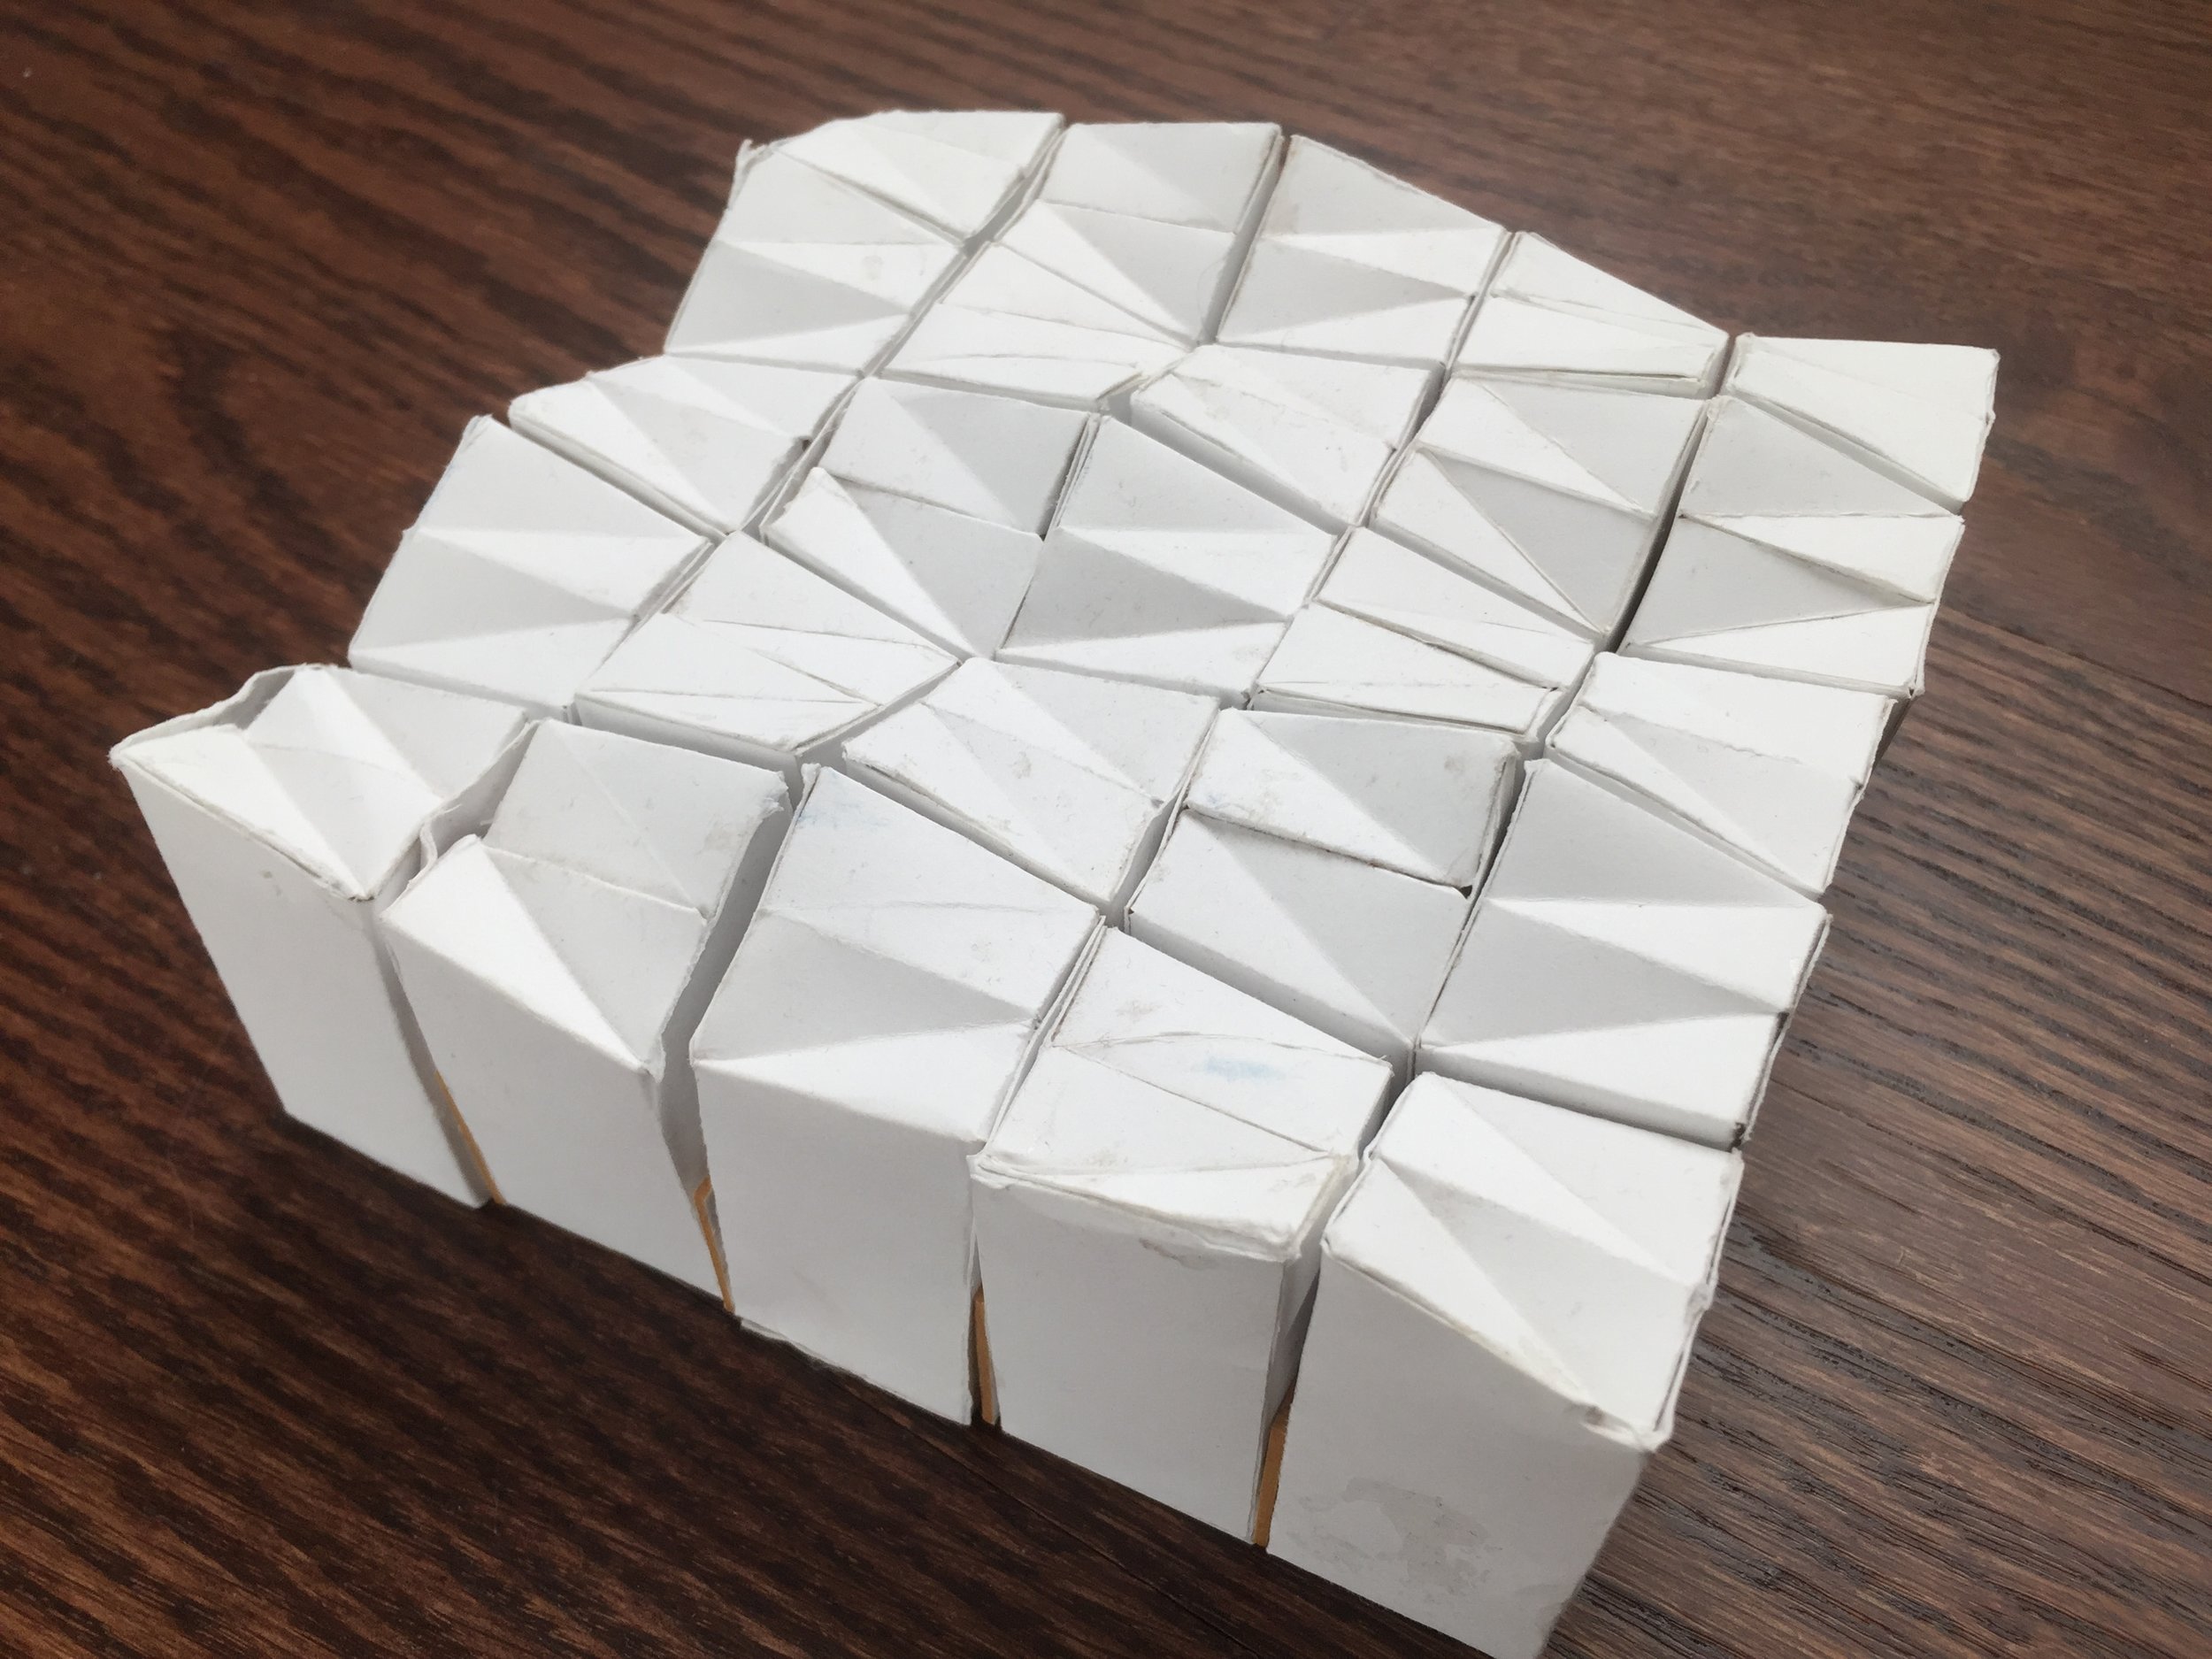
However, I liked its projecting central peaks. So in the last project, I considered how to reconceptualize it based on the flat surfaces I had ignored at the start of 3D modeling. I created a 5” x 5” museum board base, each supporting a single 1” x 1” x 2” cardstock unit, and arranged the surface of each unit at 4 folded impressions. The resulting design gave rise to a hybrid between the prototype and the museum board design that accentuated both the original triangular pattern and the centralized peaks.
Outcome
All of the designs were on exhibit at the Graduate School of Design following the conclusion of the session.
I also recreated this piece out of wood more than seven years after the original project!

Length:
1 week
Materials:
Printer paper
Cardstock
Plexiglas
Superglue
Museum board
Tools:
Cutting mat
Metal ruler
Precision knife
3D printer
Rhino
AutoCAD
Adobe Suite